
Let's take a shot every time I say PILLOW. No, no just kidding, you might die*.
I love interestingly shaped pillows. Especially ones that are fairly literal. For instance, this mountain pillow from Design Sponge last year (see below picture). A triangle pillow shape turned out to be surprisingly more awesome to cuddle with than the standard square so I really wanted another cool geometric pillow.
I love interestingly shaped pillows. Especially ones that are fairly literal. For instance, this mountain pillow from Design Sponge last year (see below picture). A triangle pillow shape turned out to be surprisingly more awesome to cuddle with than the standard square so I really wanted another cool geometric pillow.
Along with everyone else, the gem/crystal shape is a new obsession. I actually searched around for a full size gem shaped pillow to purchase but no luck. I wanted one with a pillow form and zippered pillow case that could be washed. I've never put a zipper in before and that had me a little scared. However, when I made the mountain pillow I did not do a zipper and I since wish that I had. It has gotten dirty and isn't really washable (as a whole) in the washing machine I have available to me. With no other option in sight but to make what I wanted...
Game on.
To start this I searched Google for a free black and white clip-art image of a diamond, found one I liked and printed it out as large as I could. I then scaled it up on a piece of butcher paper for the pattern. 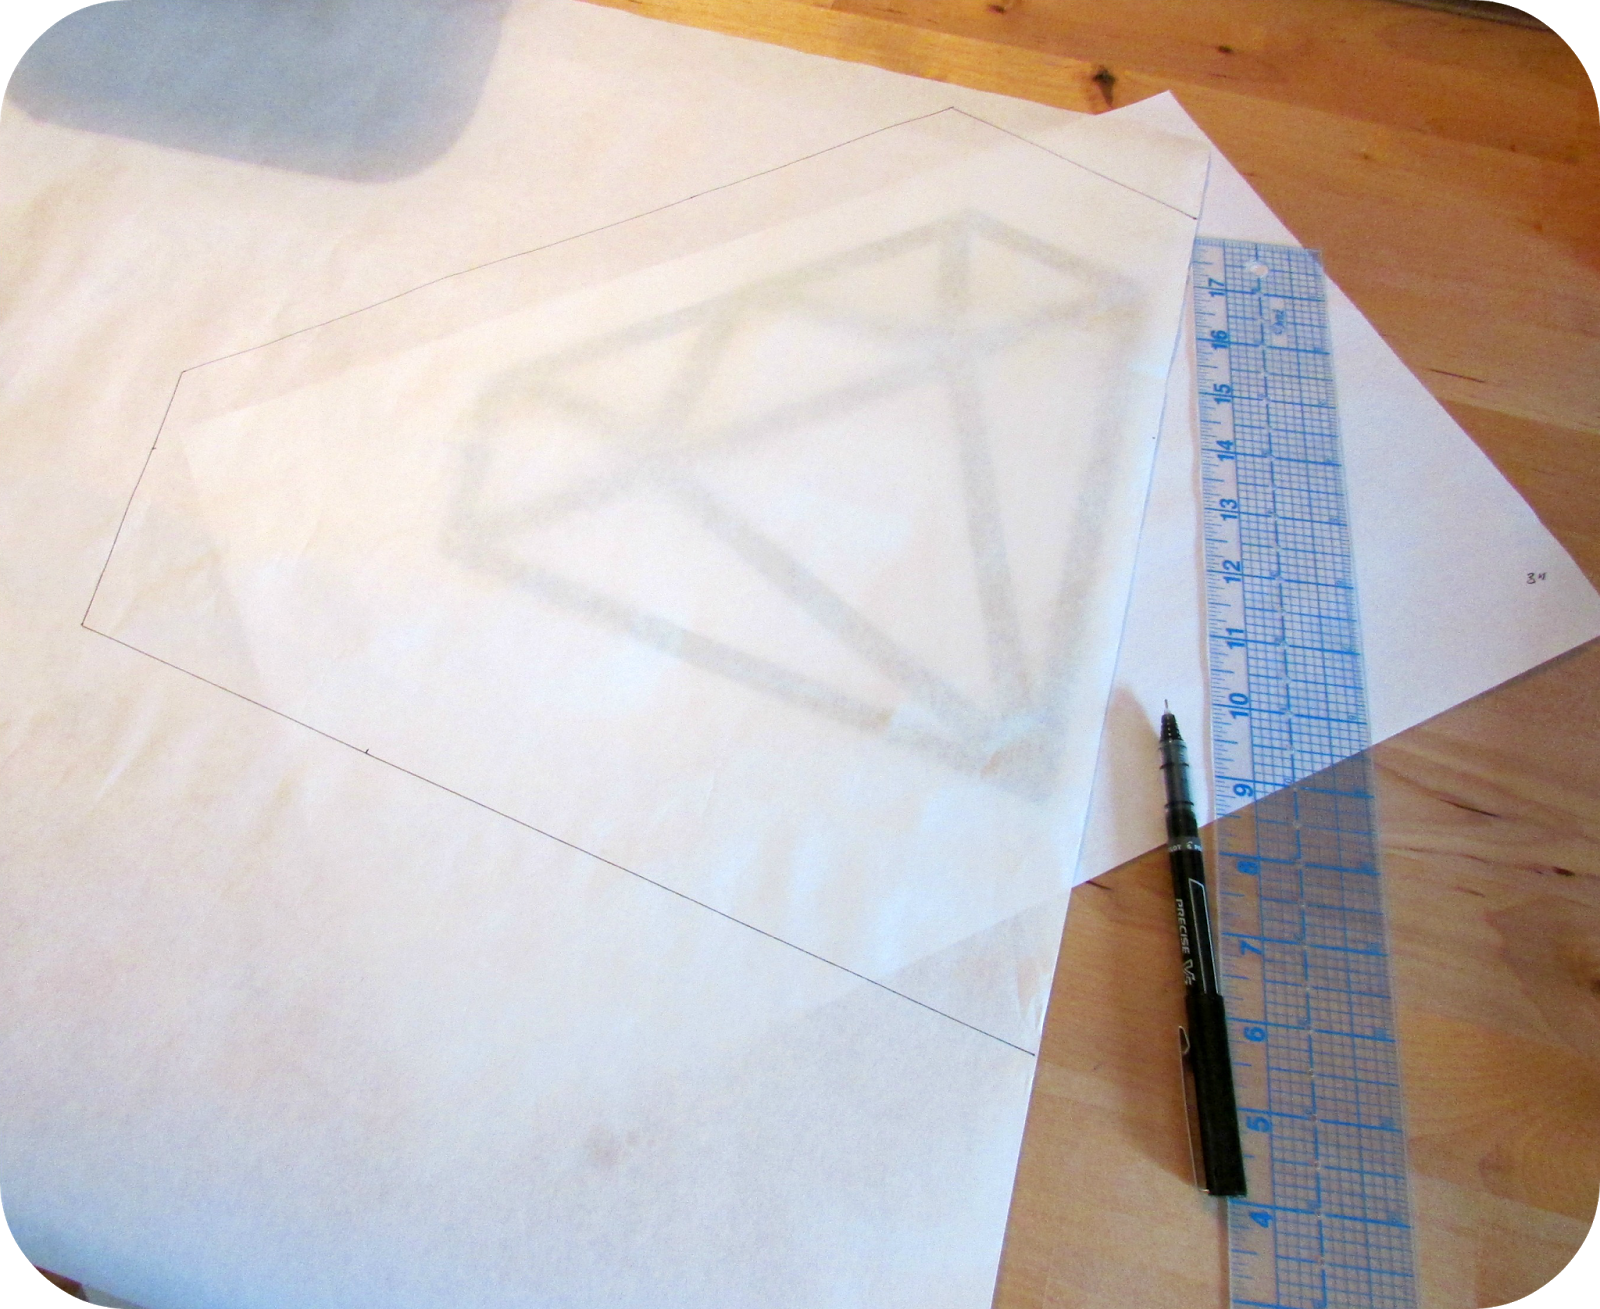


No DIY is complete without a couple of false starts, back tracks, or rethinking.
Rethought:
1. Much bigger, like double or more.
2. 100% Cotton washable fabric, not upholstery
3. Same fabric used to make the pillow and pillowcase.
I got some 100% cotton muslin from Joann Fabrics for $12 a yard. It was sturdy, but intended for quilting so washable and soft. I got 2.5 yards. I always panic and just get a yard or a half more than I think I need. Plus I had some really great coupons that brought the price down significantly! I scaled up the diamond to be 20.25" tall by 25.5" wide. Here is a break down of pattern size and angles if you would like to make one too:

I used two pieces of muslin to make the pillow form. Sewing a plain pillow insert is the easiest part of this whole thing. If you don't want to take on a zipper and the pillow case, you can just sew a pillow form and call it a day.
I used a hefty 1" seam allowance. Where I left the opening to stuff the pillow I back stitched on either side of the opening to both tie the thread off and keep it extra strong. It gets strained a lot while you are stuffing the pillow.

I trimmed the seam around the whole pillow except for the opening. I left a tab here because I find it's easier to hand sew it shut when you have more fabric to work with. I pressed the seam open so I would be able to see where to sew when the pillow was stuffed.

Make sure your hand fits! Especially with a large pillow and a pillow with five corners!

Speaking of corners, I make little 'cotton balls' of polyfill to stuff into the corners of the pillow. It helps fill them out and keep them pointy.

I used my same overzealous ladder stitch. It got a little puckery, but since this is the pillow form, all it has to be is strong and shapely. *wowza*

Ok, so I'm not really going to go too much into the zipper because this was my first zipper and I literally have no words of wisdom to offer. It was scary and didn't turn out perfect, but for a first try I think it's pretty good. I didn't have to rip anything out despite following the horrible instructions on the zipper to sew it while it's open**! Also I sewed myself out of the pillow case, which my boyfriend thought was amusing, but inspired a moment of panic in me. I edged the zipper down a millimeter at a time until I could get it open. WHEW. Below is the zipper installed, waiting for me to sign off on it and sew the rest together. I used four pieces of muslin (double layered) for the pillow case. It's quite thick and nice.

It's far, far (FAR) from perfect:


So right now you're thinking, cool shape, but it doesn't look like much... I know, I know. It's not done! The next terrifying step is to paint the diamond-y lines on it. Stay tuned for that...

Bye for now from my creeper kitty.

*I say PILLOW 25 times in this post not counting this note.
**I have since learned that you are supposed to sew this type (invisible) of zipper open, however I do not -and didn't use- an invisible zipper foot. Thus the incredulity and sub par results!
No comments :
Post a Comment