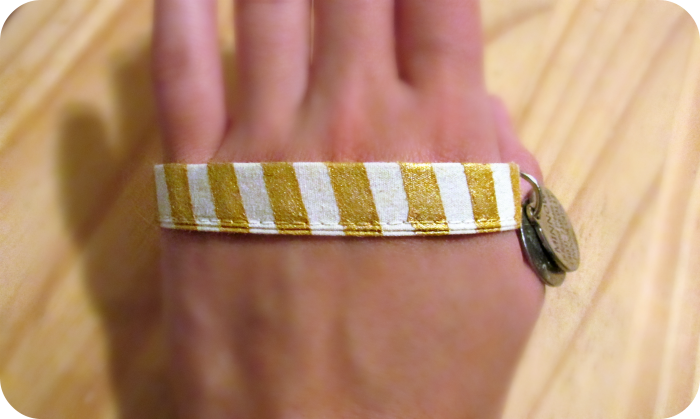
I don't especially like most of the collars at Petsmart, and I don't want to special order a fancy one since it's likely it will be eaten if it's removed and left laying around (which I can't stop doing obviously). I decided to make one from the buckle on the ripped one and some scrap fabric. I cut a 2"x10.5" piece to start.

Then folded them together. I slipped a piece of stitch witchery inside the folds and ironed it shut for stability and ease of sewing. It's curved, by accident, but it didn't matter.

It turned out just a smidge larger than the old collar so the fabric bunched a little in the buckle, but really not much!

I sewed a straight line as close to the buckle as I could. I went back over it twice and trimmed the threads. Oops! A little blue dot remains! I probably heat set the marker in with the iron too. Good thing it's on the inside. I used pinking shears to snip the excess. The finished collar is 7.25", measured from how Minnow's old collar was sized.

Next I made pen tick marks at 1/8" on the matte side of a piece of freezer paper. I used an razor to cut at an angle from one tick to another.

I positioned it over the collar where I wanted and pressed it with an iron shiny side to the collar. Freezer paper adheres to fabric for a great stencil! I learned this researching for my pillow project.


No comments :
Post a Comment