
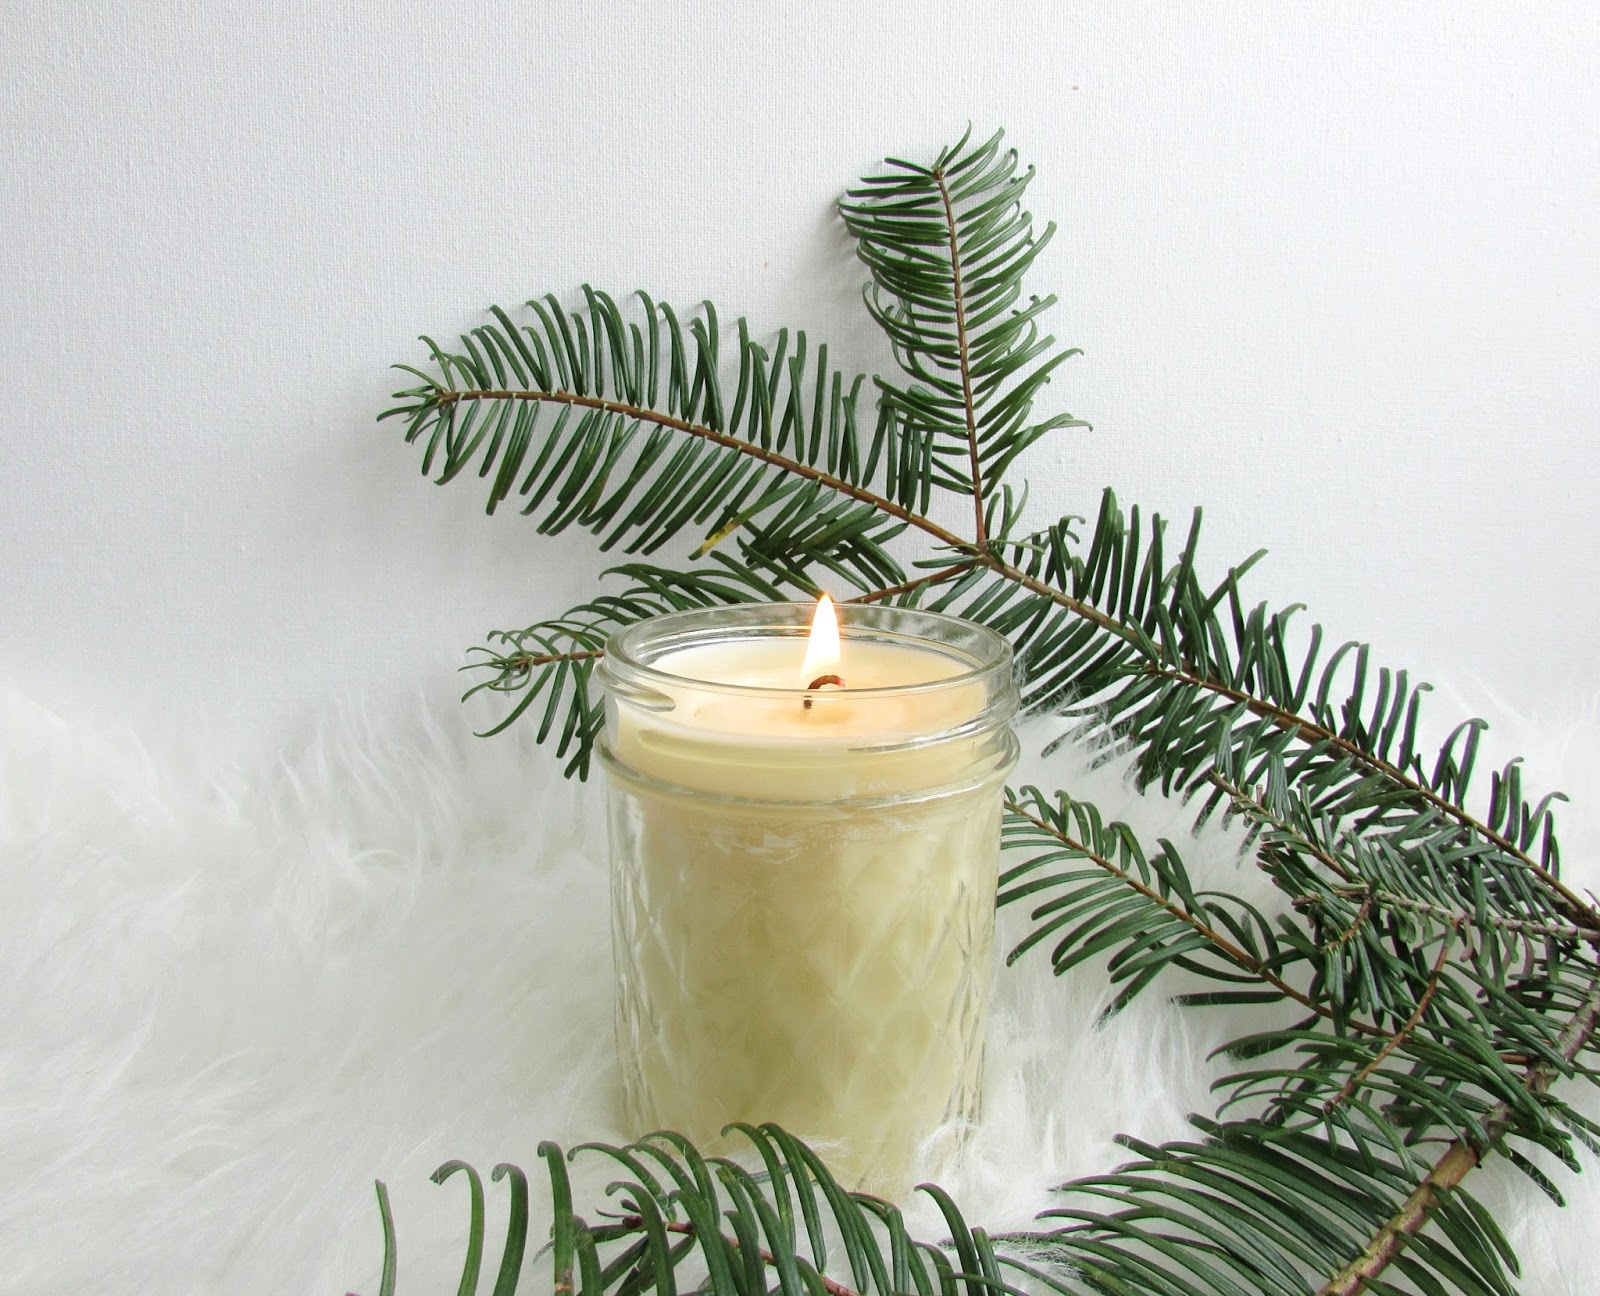
‘Tis the season for fir trees! Before the holidays I went to a craft fair and man- there are some good candles out there. I didn’t leave with a candle, (I chose this fun smoky salt) but I did leave inspired to try a woodsy scented candle of my own. I know for many this probably comes too late, as fir is most associated with Christmas (and that is almost upon us-yay!) I think fir needle also goes really well with a cozy blanket, a cup of tea and snow falling outside. There is no reason for the winter ambiance to die after the 25th.
I have a fir needle essential oil and cedarwood essential oil from Brambleberry. I also picked up this Black Tea fragrance oil. It’s very rich, a little smokey. I can’t see it working in soap as well as it would go in a candle. You know how some smells feel like house smells and some feel like body product smells?
The fir and cedar do overpower the black tea in this formulation. If you prefer less woods and more tea, I’d bump the two EOs down to .15oz and the black tea up to .30oz. I wrote the recipe to make one candle, but you can double it to make two candles-which is what I chose to do.

| BLACK TEA & WOODS SOY CANDLE | ||
| Fills one 8oz mason jar 5.5 oz Soy wax | ||
| .60 oz Beeswax | ||
| .30 oz Black Tea fragrance oil | ||
| .15 oz Fir Needle essential oil | ||
| .15 oz Cedarwood essential oil | ||
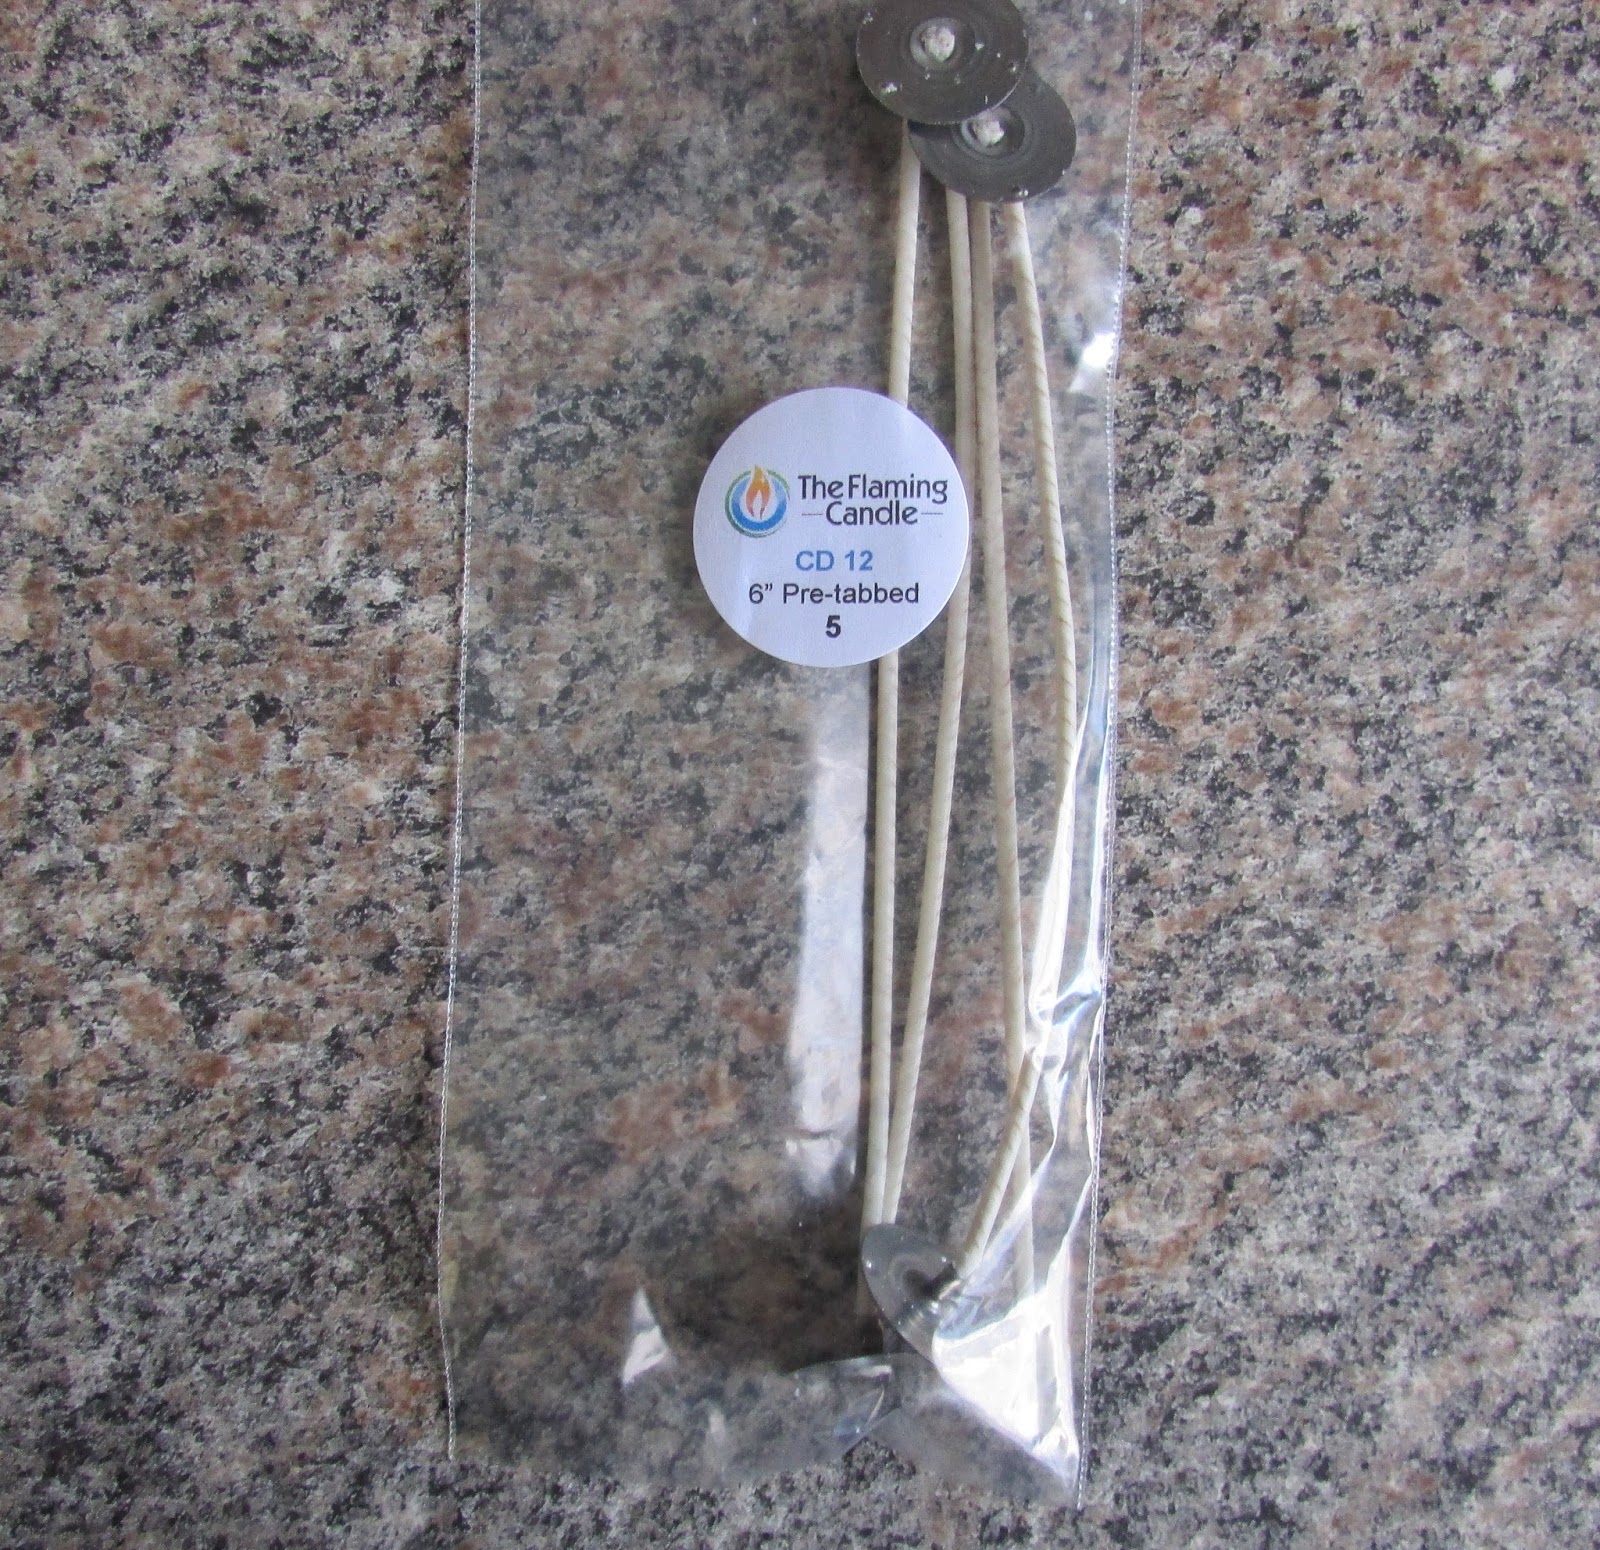
| 1 CD 12 wick | ||
Now, we already made a beeswax candle and chose a good wick for that. Soy is a totally different animal. It’s much, MUCH softer with a far lower melt point. For this larger mason jar candle you’ll want around a CD12 wick. I tried a 16 at first. It made a very large flame that melted the wax too much and discolored it due to high heat. Because of how soft this wax is and how much fragrance we are adding, I like to offset the fragrance with an equal amount of beeswax. The yellow beeswax gives it a light creamy yellow color. If you want it to remain white, use white beeswax or just forgo it and drop your wick size. I make this candle the same way as the beeswax candle. If you want more information, hop over there before reading this.


Weigh out your fragrance and set aside.

Weigh out your beeswax, then your soy wax. I used slightly more beeswax because I rounded up to 1.5oz instead of 1.2oz. You can do the same, or follow the recipe. I didn't notice a difference.
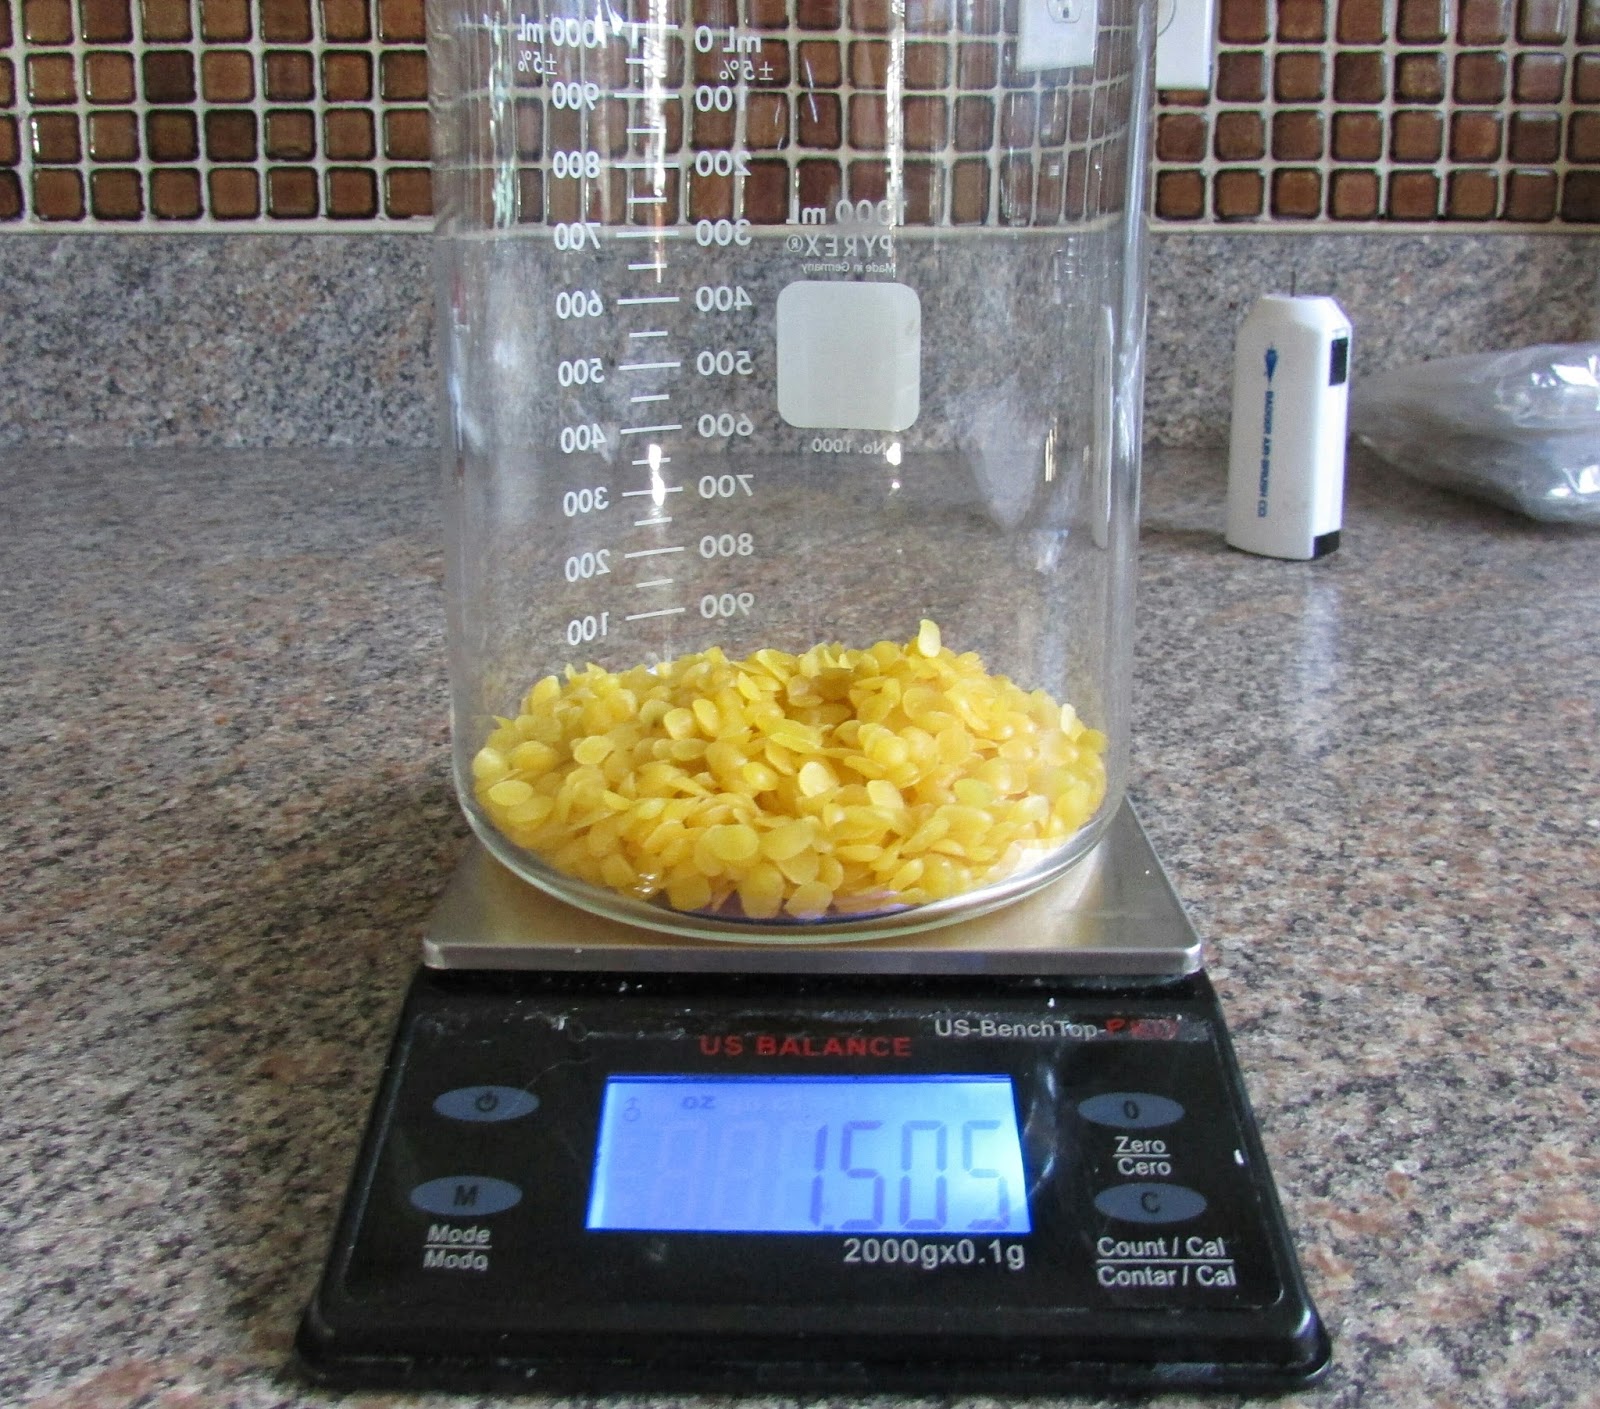
I’m making two candles at once, so this is 11oz of soy. Looks like a lot more since it’s in flakes!

Melt in a double boiler, stirring to break up the wax and assist the melting.

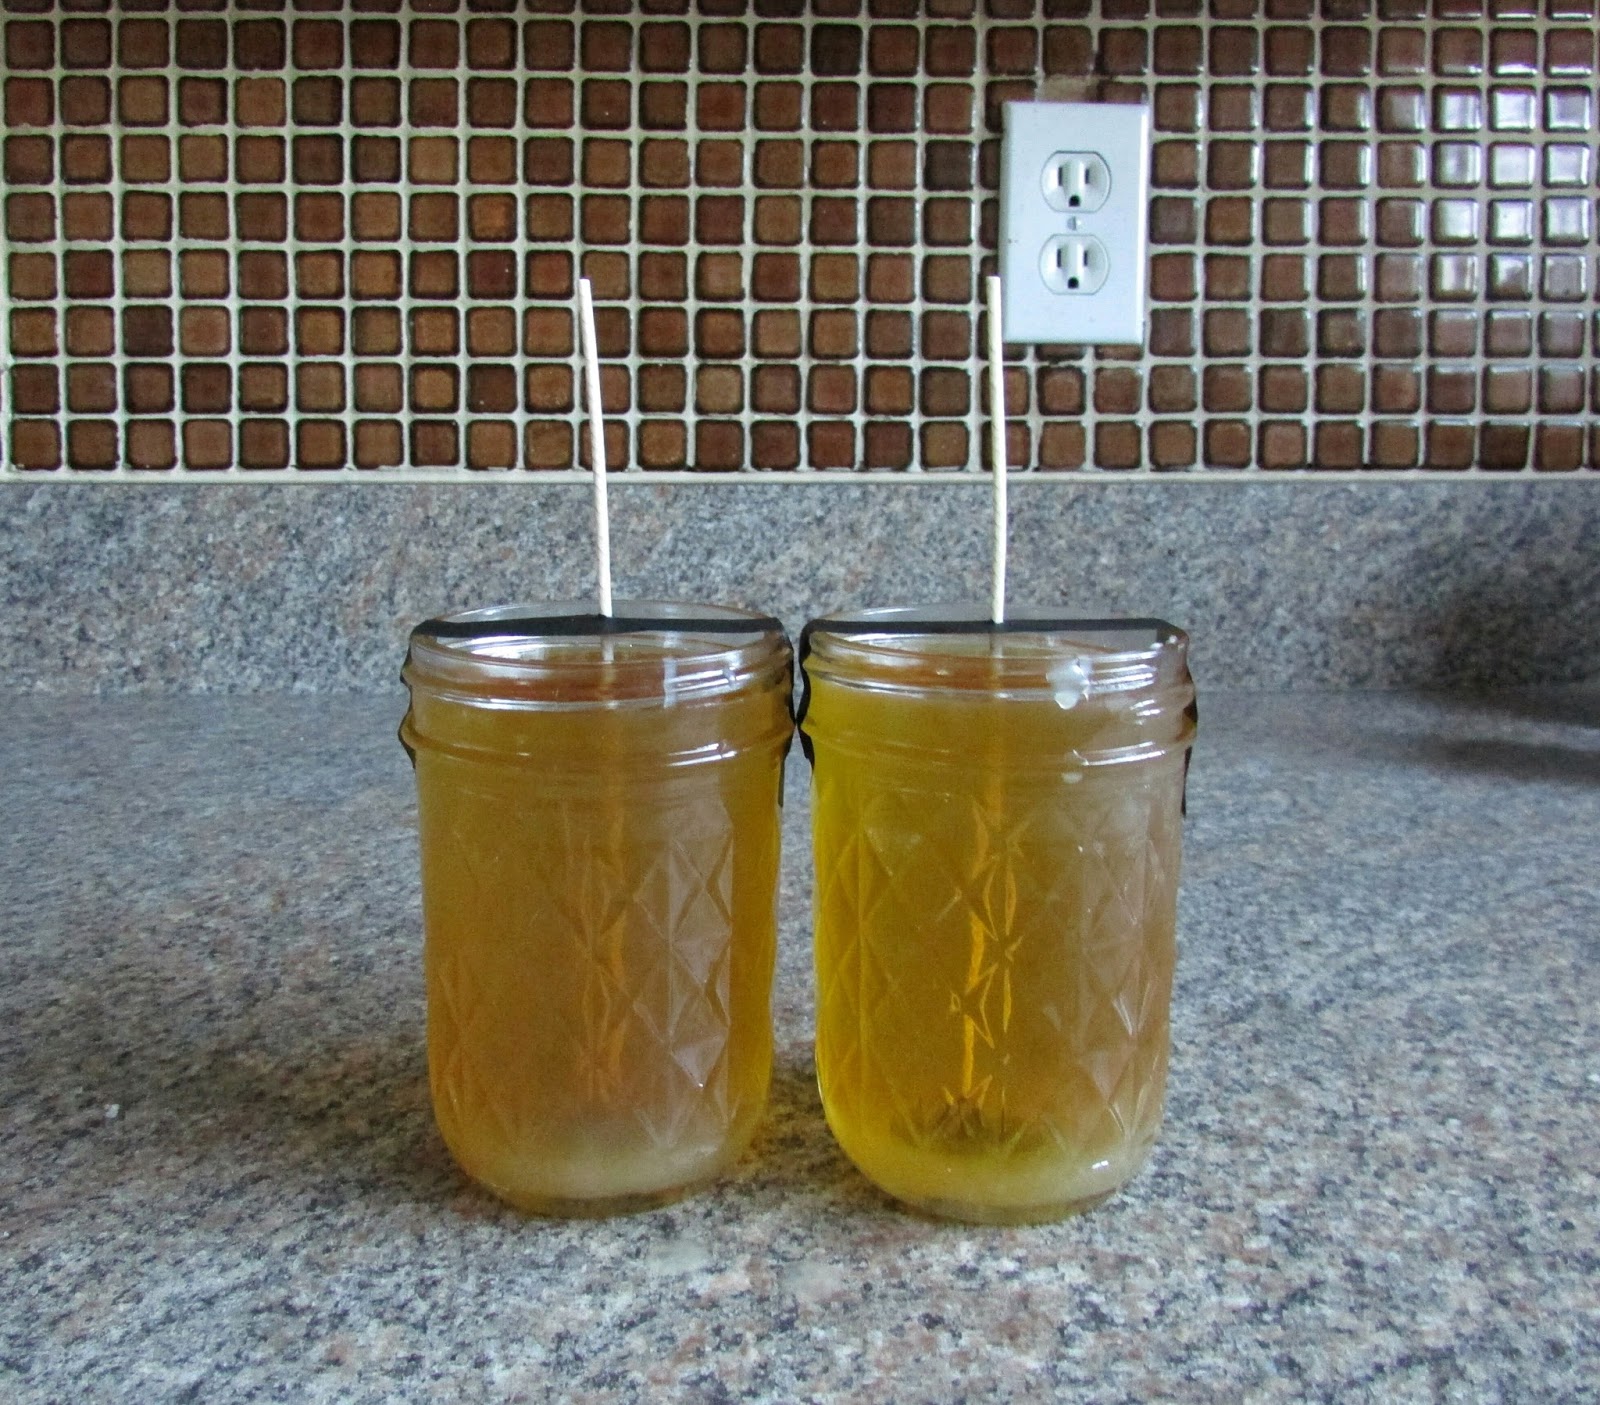
I used quilted 8oz mason jars for my candles.

The CD 12 wicks I used are from my wick sampler pack I purchased at The Flaming Candle.
If your jar is too small to reach your hand in, a fork works for pressing the wick down. I use a drop of wax to glue it to the bottom.

Washi tape with a hole in it to hold the wick straight.

All ready for the wax.

Before adding fragrance, make sure your wax isn’t too hot. You don’t want to add it higher than 180°F or it could burn off.

Once poured you can let them cool at room temp or pop them in the fridge. Either way they won’t be ready for 3-14 days. They need to cure before using.
I always get a crack around the center of my candle. I smooth it out with my finger, but if you are trying to make these nicer, set aside a tablespoon of wax mixture. Reheat and pour over the uneven top. It will dry smooth. OR if you know why that happens, let me know!

When the candles are cured, cut your wick and enjoy! (you can see the circular crack in this picture)


No comments :
Post a Comment